Embarking on your vermicomposting journey begins with a fundamental decision – selecting the appropriate worm bin. This choice is pivotal in creating an optimal environment for your worms to thrive and efficiently turn kitchen scraps into nutrient-rich compost. Let’s delve into the key considerations:
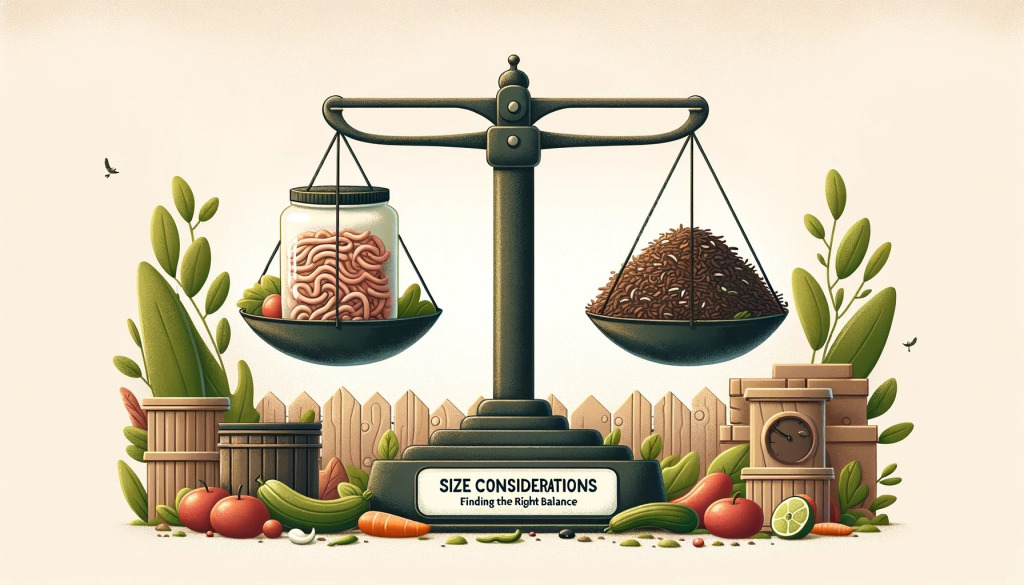
Size Considerations: Finding the Right Balance
Estimating Waste Production: While households typically produce more organic waste than a worm bin can process, aim to manage a portion of your weekly waste.
Worm Capacity: Worms can consume about half their weight in scraps daily. For more waste, consider a larger bin or multiple bins.
Space Efficiency: If space is limited, start small. It’s better to have a well-maintained smaller bin than a larger, unmanageable one.
Regular Monitoring: Adjust the amount of waste based on how quickly worms process the scraps, and scale up your bin size or quantity as needed.
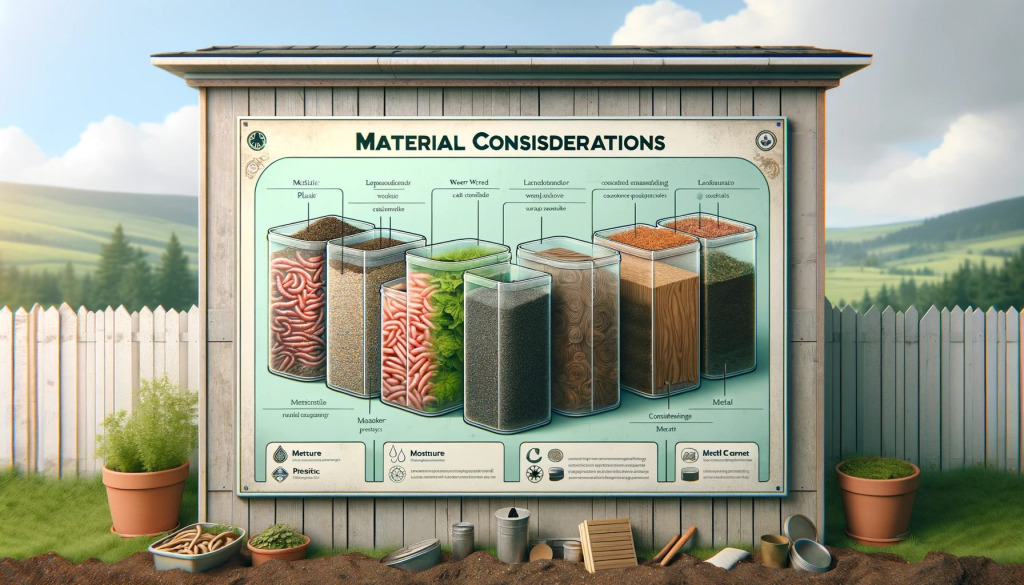
Material Considerations:
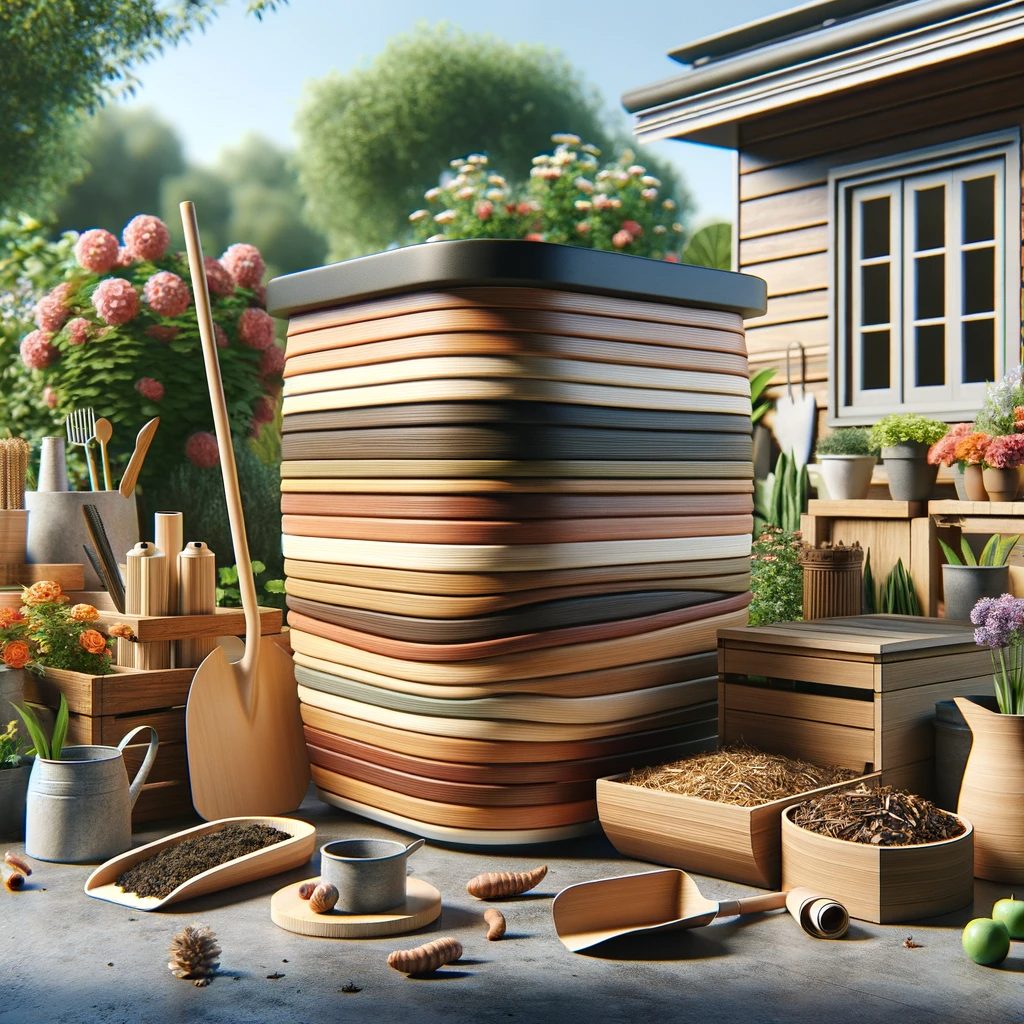
Plastic Bins: Popular for being lightweight and inexpensive. Choose food-grade, untreated plastic.
Wooden Bins: Great for outdoor setups, these bins offer aesthetics and breathability but may require more maintenance.
Metal Bins: Durable and rodent-proof, but can be heavy and prone to rust. Ensure good drainage and ventilation.
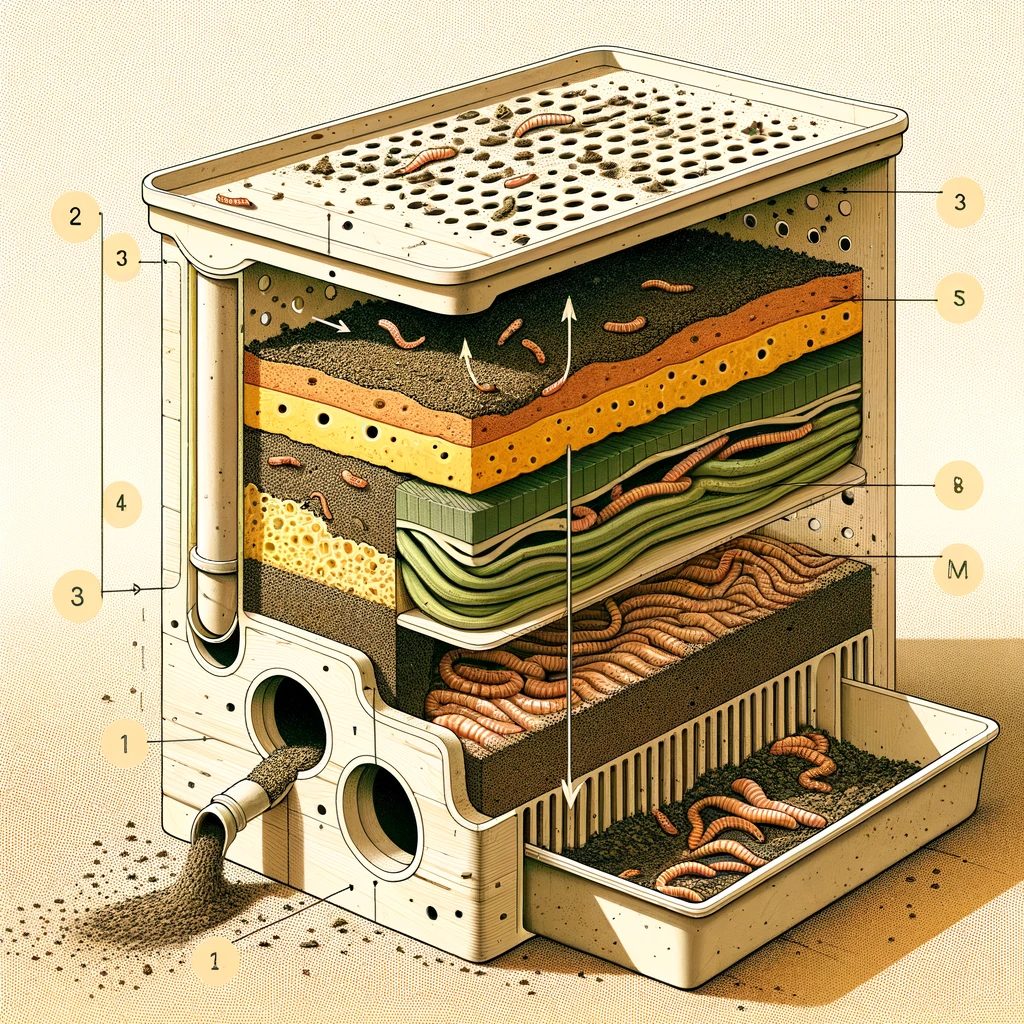
Ventilation and Drainage:
Air Flow: Ensure your bin has holes for aeration but small enough to prevent worms from escaping.
Moisture Control: Bins should have drainage to avoid drowning worms or creating odors. Excess liquid can be used as plant fertilizer.
Ease of Use:
Access: A bin with a wide opening is preferable for adding waste and harvesting compost.
Mobility: Consider bins with handles or wheels if you plan to move it.
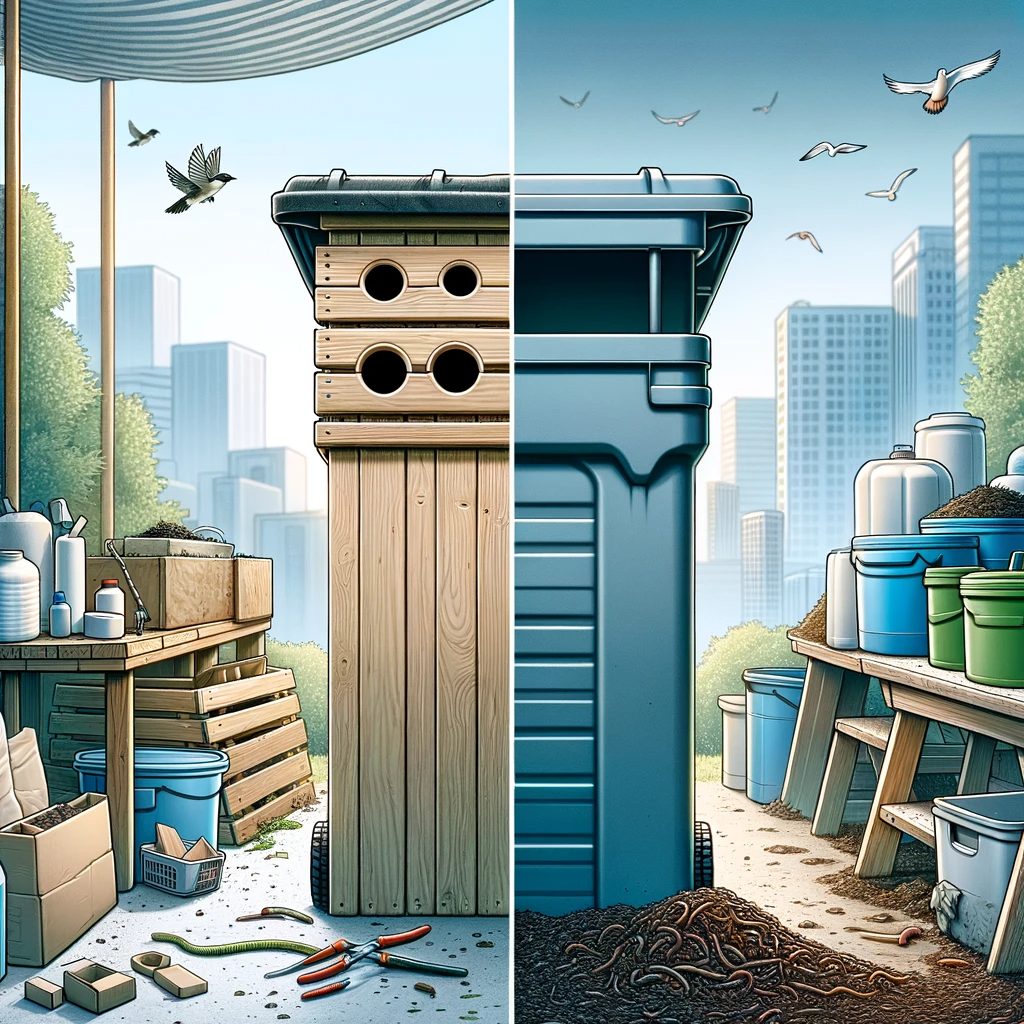
DIY or Commercial?
DIY Bins: Building your own can be cost-effective and customizable.
Commercial Bins: Ready-made options offer convenience but at a higher cost.
Environmental Impact:
Sustainable Choices: Opt for bins made from recycled materials or locally sourced wood for a smaller environmental footprint.
Aesthetics:
Integration with Your Space: The bin should fit well with your home or garden aesthetics. Choose colors and materials that blend with your surroundings.
Choosing the right bin is the foundational step for successful vermicomposting. It’s not just a container; it’s the first home for your worms and the starting point of your composting journey. Take your time to select a bin that suits your needs, space, and style.